Page 158 - DCAP504_Computer Graphics
P. 158
Unit 10: Clipping II


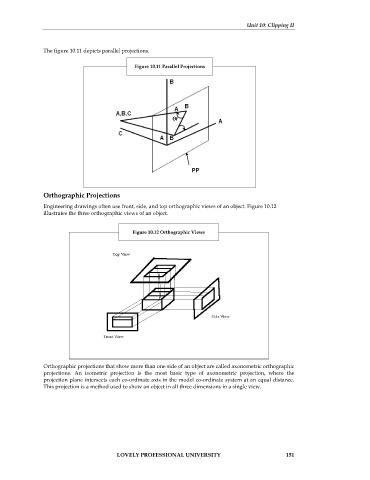
               The figure 10.11 depicts parallel projections.

                                              Figure 10.11 Parallel Projections


               Orthographic Projections

               Engineering drawings often use front, side, and top orthographic views of an object. Figure 10.12
               illustrates the three orthographic views of an object.


                                             Figure 10.12 Orthographic Views


               Orthographic projections that show more than one side of an object are called axonometric orthographic
               projections. An isometric projection is the most basic type of  axonometric projection, where the
               projection plane intersects each co-ordinate axis in the model co-ordinate system at an equal distance.
               This projection is a method used to show an object in all three dimensions in a single view.


                                        LOVELY PROFESSIONAL UNIVERSITY                          151

