Page 188 - DCAP109_GRAPHIC_TOOLS
P. 188
Unit 8: Tools Working with CorelDraw


                                                                                                Notes
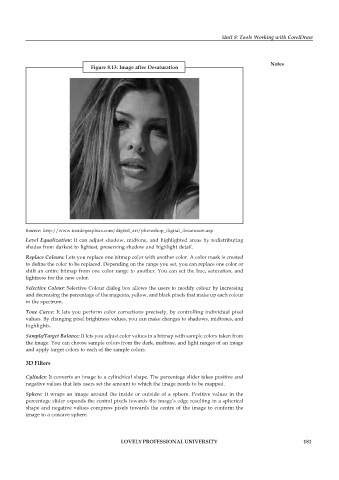
                                 Figure 8.13: Image after Desaturation


          Source:  http://www.insidegraphics.com/digital_art/photoshop_digital_desaturate.asp
          Level Equalization:  It can adjust shadow, midtone, and highlighted areas by redistributing
          shades from darkest to lightest, preserving shadow and highlight detail.
          Replace Colours: Lets you replace one bitmap color with another color. A color mask is created
          to define the color to be replaced. Depending on the range you set, you can replace one color or
          shift an entire bitmap from one color range to another. You can set the hue, saturation, and
          lightness for the new color.

          Selective Colour: Selective Colour dialog box allows the users to modify colour by increasing
          and decreasing the percentage of the magenta, yellow, and black pixels that make up each colour
          in the spectrum.
          Tone Curve: It lets you perform color corrections precisely, by controlling individual pixel
          values. By changing pixel brightness values, you can make changes to shadows, midtones, and
          highlights.
          Sample/Target Balance: It lets you adjust color values in a bitmap with sample colors taken from
          the image. You can choose sample colors from the dark, midtone, and light ranges of an image
          and apply target colors to each of the sample colors.

          3D Filters

          Cylinder: It converts an image to a cylindrical shape. The percentage slider takes positive and
          negative values that lets users set the amount to which the image needs to be mapped.
          Sphere: It wraps an image around the inside or outside of a sphere. Positive values in the
          percentage slider expands the central pixels towards the image’s edge resulting in a spherical
          shape and negative values compress pixels towards the centre of the image to conform the
          image to a concave sphere.


                                           LOVELY PROFESSIONAL UNIVERSITY                                   181

