
Page 13 - Open Soource Technologies 304.indd
P. 13
Open Source Technologies
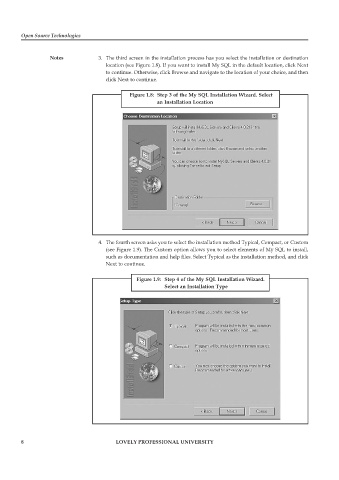
Notes 3. The third screen in the installation process has you select the installation or destination
location (see Figure 1.8). If you want to install My SQL in the default location, click Next
to continue. Otherwise, click Browse and navigate to the location of your choice, and then
click Next to continue.
Figure 1.8: Step 3 of the My SQL Installation Wizard. Select
an Installation Location
4. The fourth screen asks you to select the installation method Typical, Compact, or Custom
(see Figure 1.9). The Custom option allows you to select elements of My SQL to install,
such as documentation and help files. Select Typical as the installation method, and click
Next to continue.
Figure 1.9: Step 4 of the My SQL Installation Wizard.
Select an Installation Type
8 LOVELY PROFESSIONAL UNIVERSITY